The process
Deep cut. Fill. Sand flush. Oil. Feet. Ship.
Every board leaves the same way, whether it’s a ready flag or a family name. We blow out the loose carbon, wipe with alcohol, and fill with clear epoxy — no tint. The inlay is in the wood, not sitting on it.
01
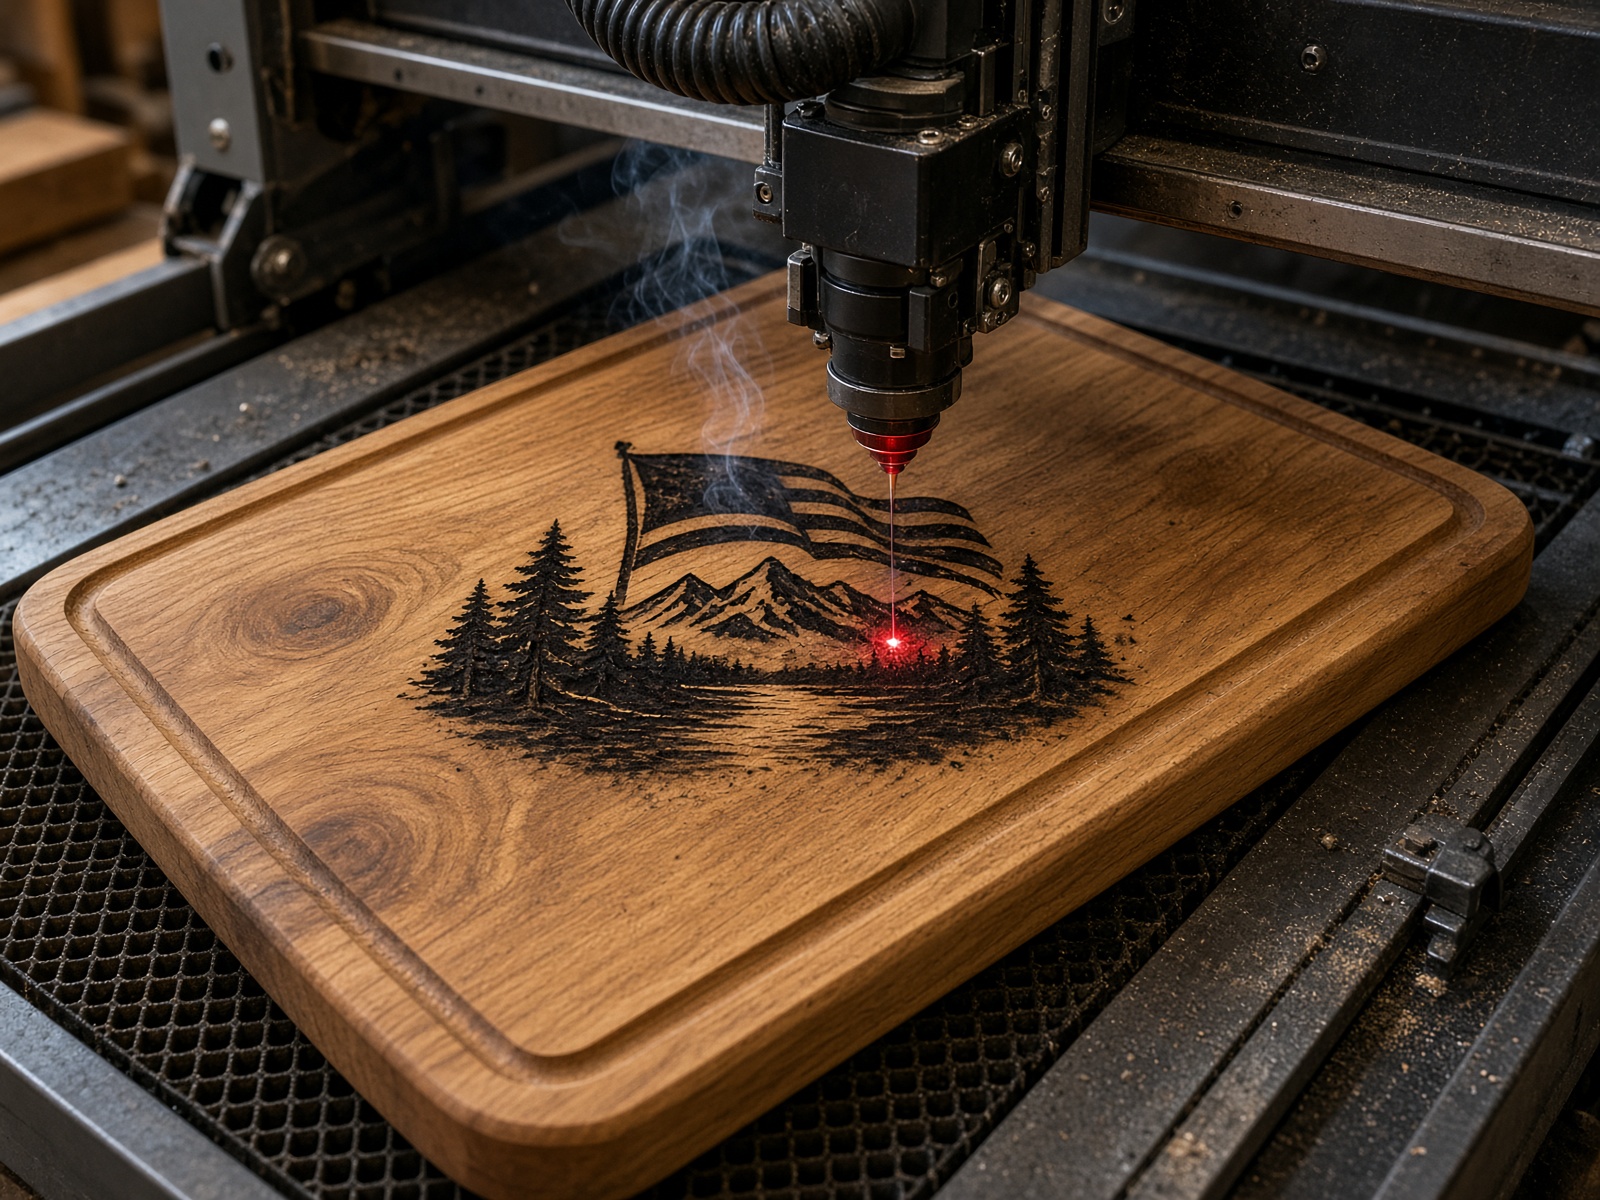
Deep laser cut
The graphic is cut into the acacia — deep enough to hold epoxy, not a surface scorch.
02
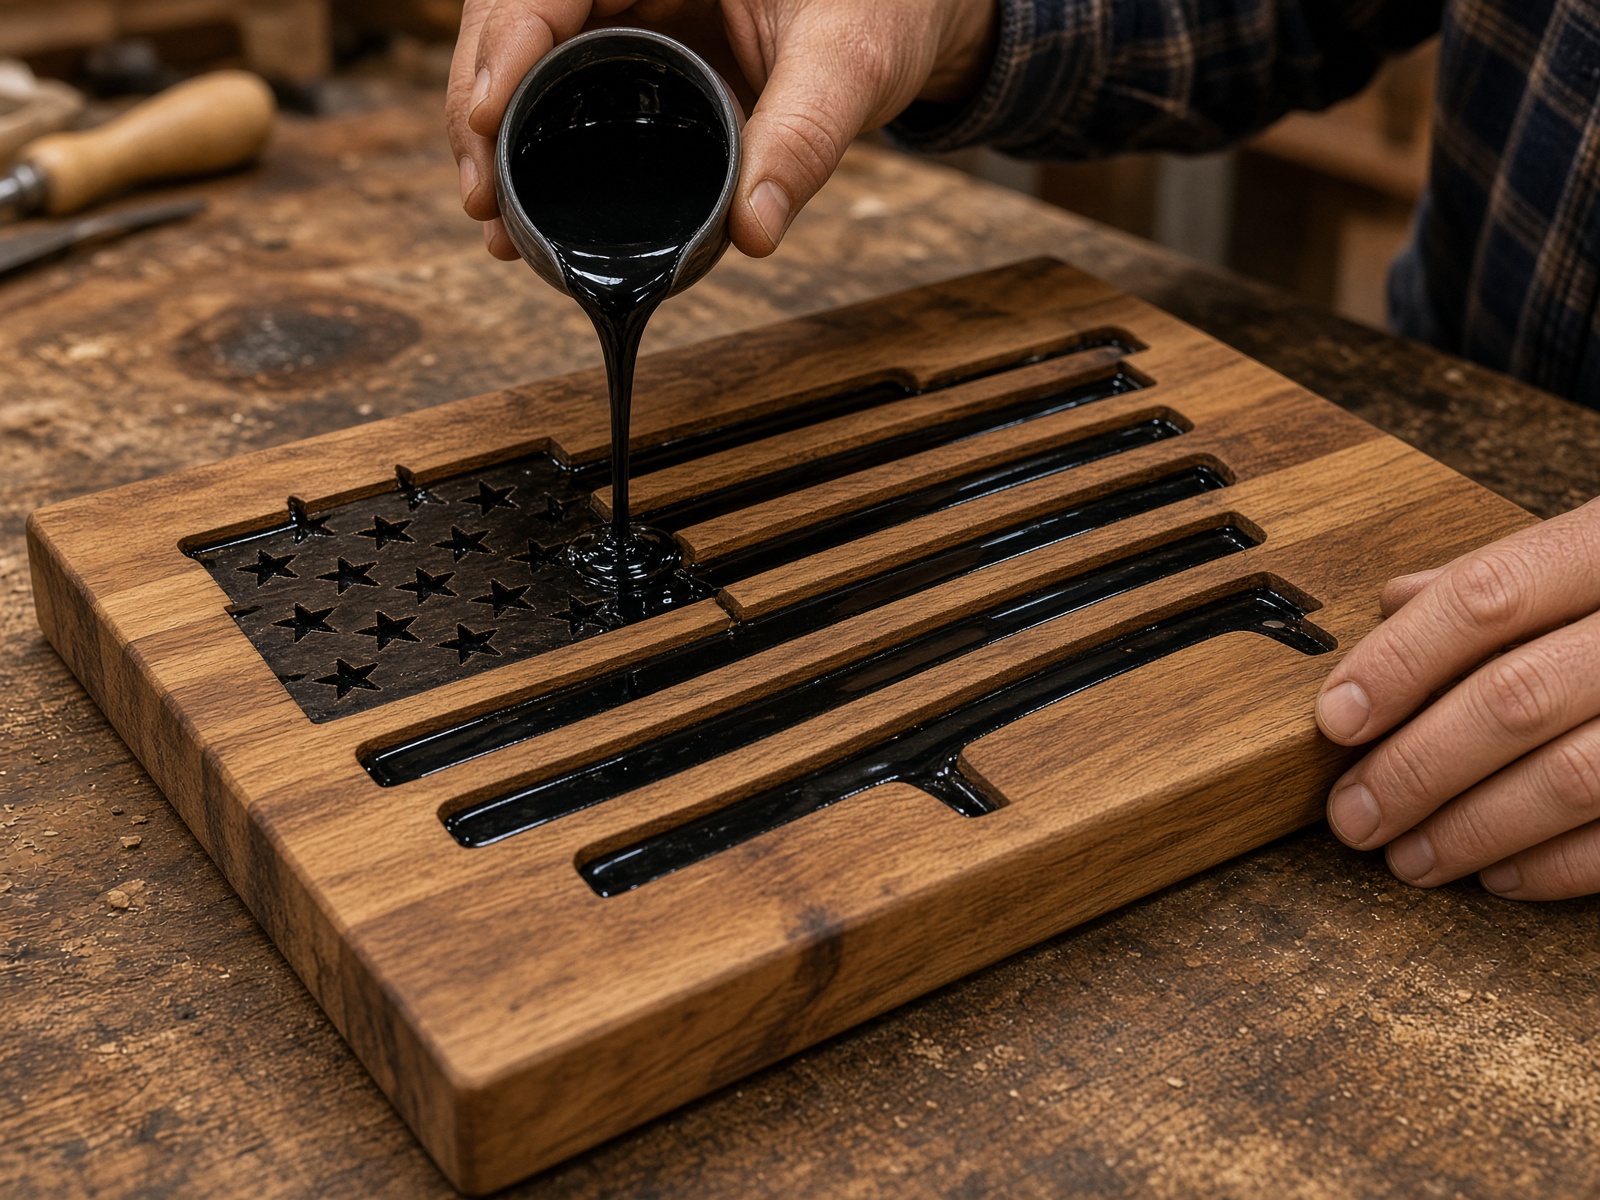
Clear fill, seven-day cure
Loose carbon is blown out, the cut is wiped with alcohol and dried. We pour clear, un-tinted food-contact epoxy — Texas-made — and let it fully cure seven days. The dark graphic is the laser char, sealed under the fill.
03
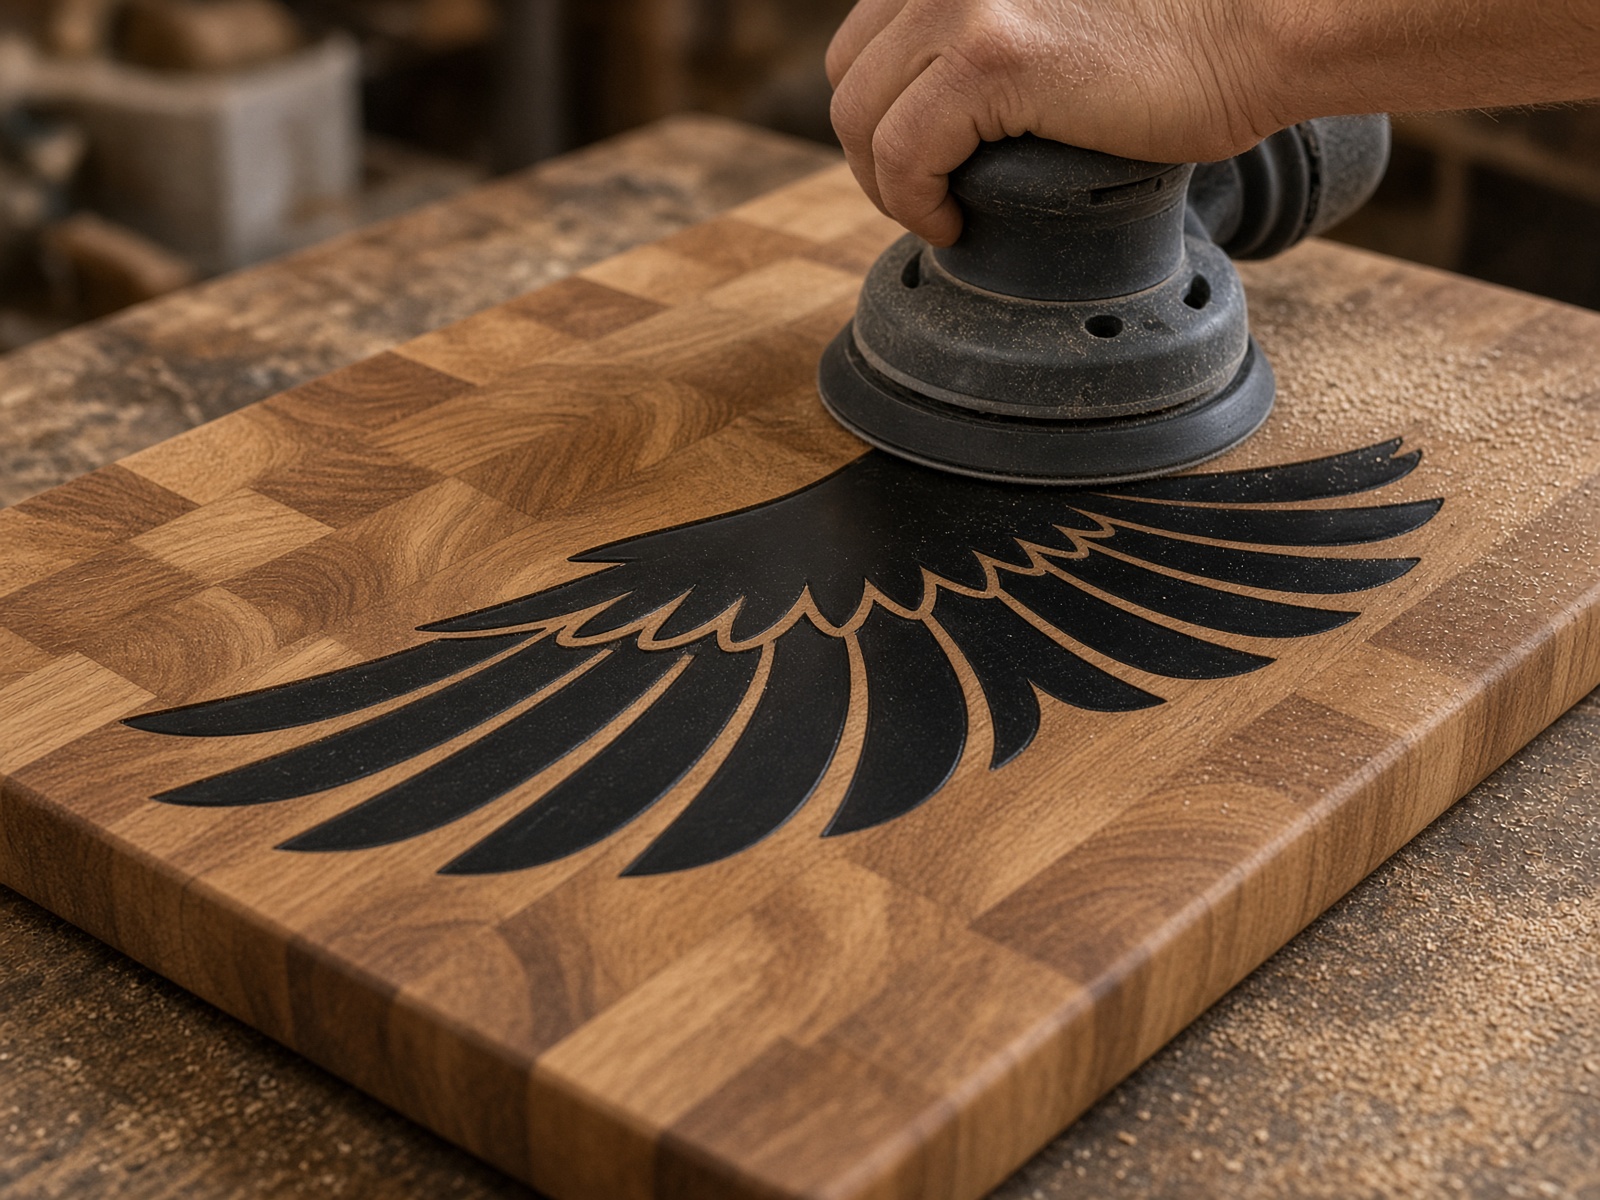
Sanded flush
The whole face is sanded until wood and inlay are one smooth plane. No ridge. No catch.
04
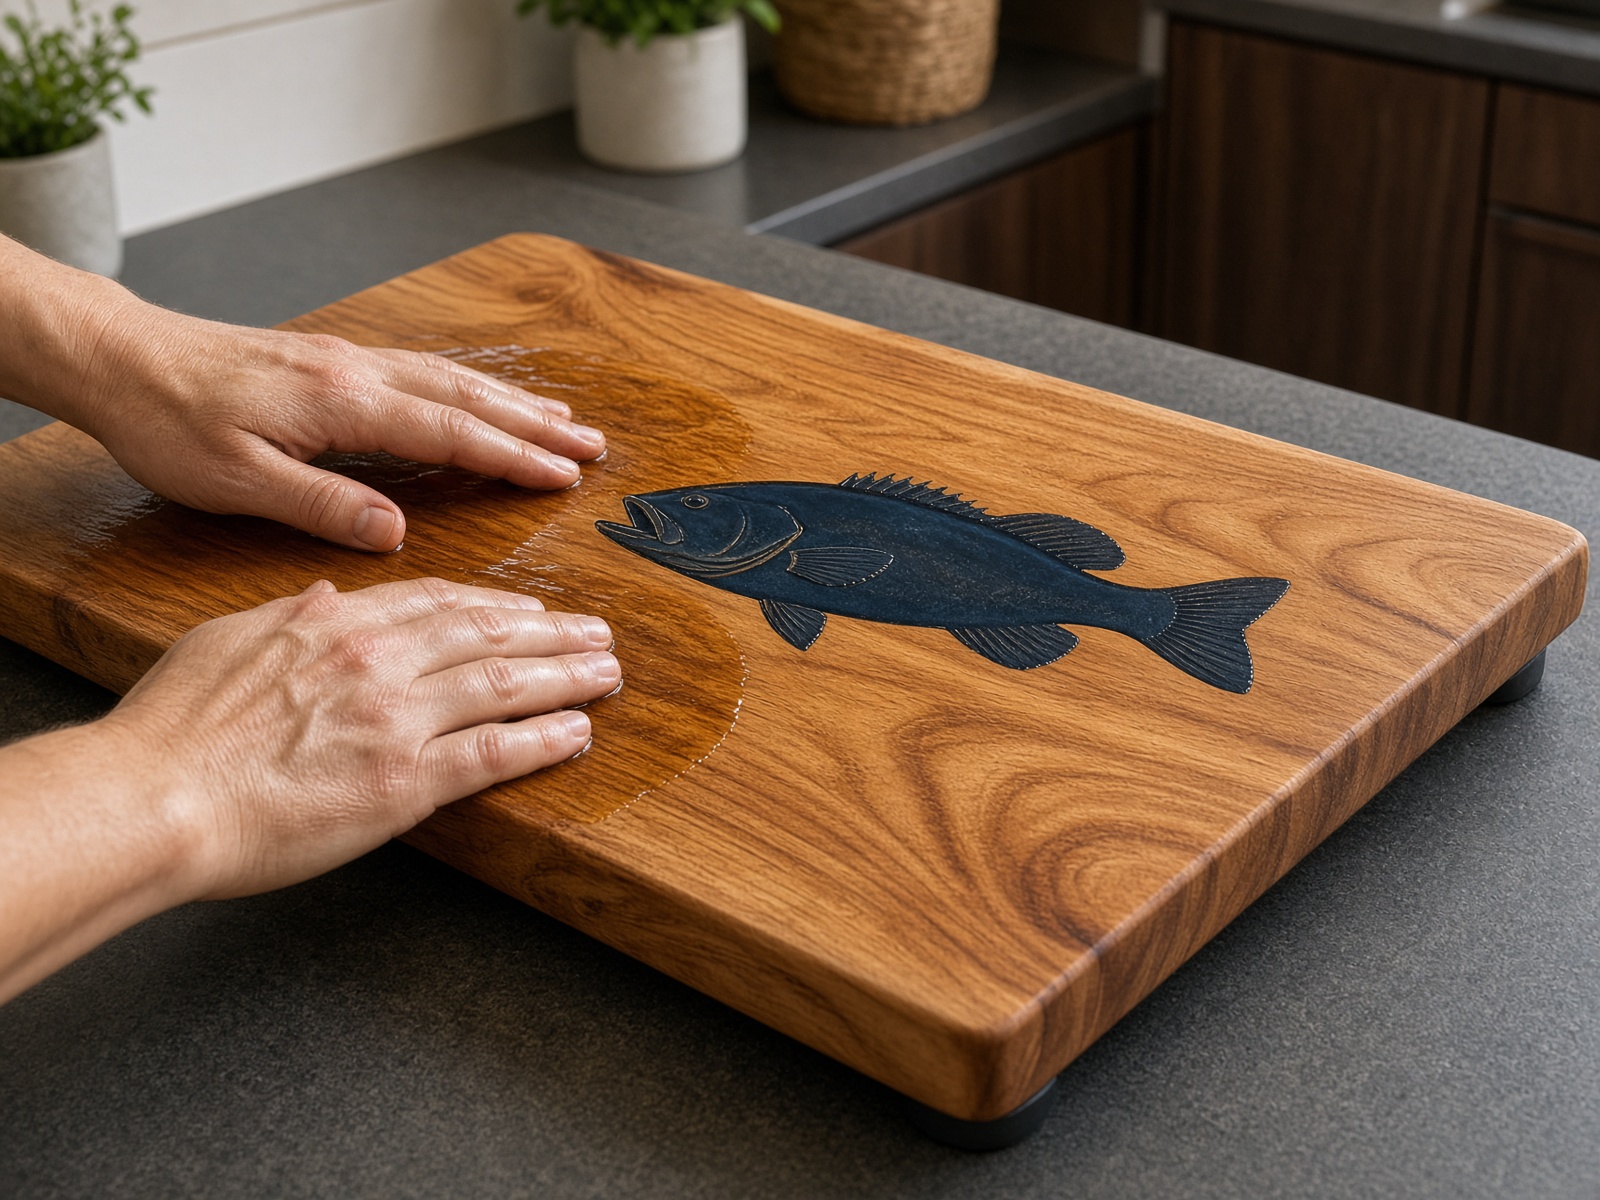
Oiled, footed, shipped
Food-grade mineral oil, rubber feet on the underside, then packed. You pay the actual shipping.
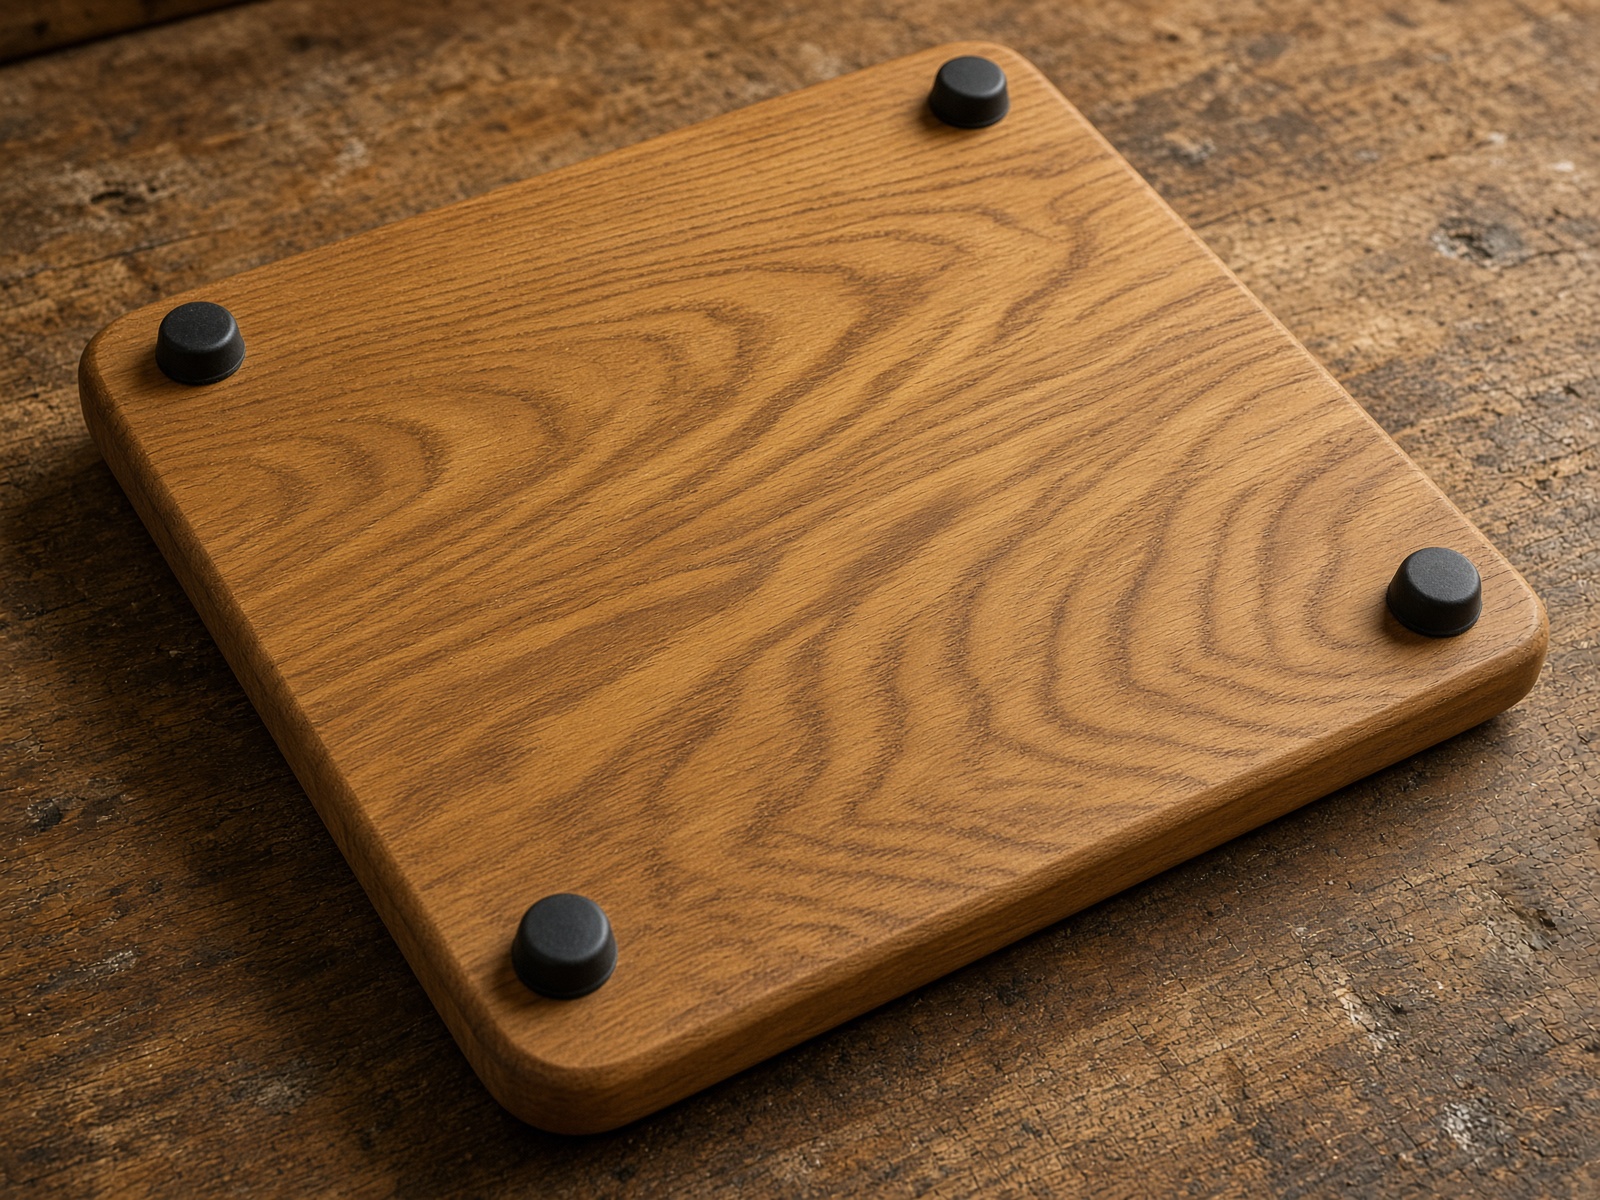
Feet on the bottom
Four rubber feet so the board sits still on a counter and the oiled face doesn’t pick up whatever is under it.
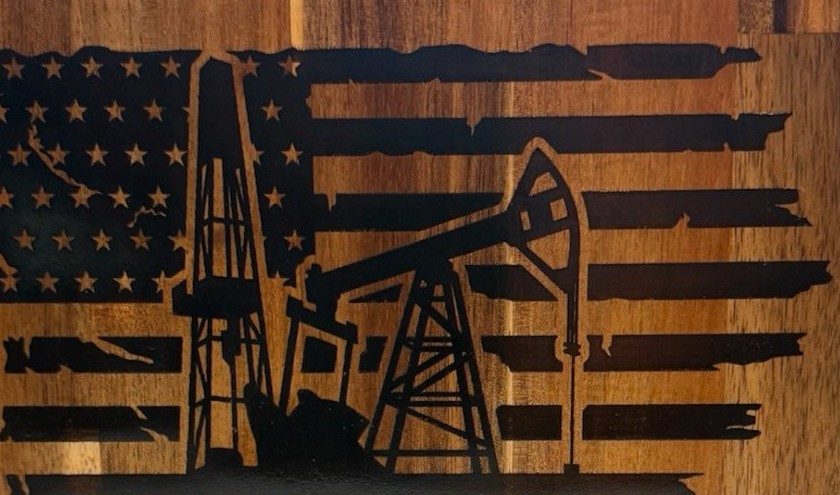
One smooth plane
After the fill cures, the whole face is sanded. Knives don’t catch the graphic. Food doesn’t sit in a burn.